Free Pattern: Easy Crochet Ear Warmer
- crochetyblog
- Dec 1, 2021
- 3 min read
It's that time of year, friends.
Time to complain about the cold for six months straight!
It's officially hat weather.
Confession time: I hate wearing hats. They make my head too warm and they mess up my hair. But I have a gigantic dog who loves to be outside in the winter, so I need something to keep my ears from falling off in the cold.
Ear warmers are a great way to get out of wearing a hat. And they are incredibly easy to make.
What you'll need:
DK weight yarn*
Size 4 crochet hook*
Darning needle
*You could also easily swap for worsted weight yarn, but you'll have to adjust the number of stitches, and use a size 5 hook.
Stitches used:
Note: this pattern uses US crochet terms
Ch | Chain |
Hdc | Half double crochet |
Hdc blo | Half double crochet back loop only |
In the photos, I'm using Colour Lab DK yarn, Frosty Blues, 100% wool.
How to make your ear warmer:
Start by making 80 chain stitches. This will be the length of your ear warmer, so it's a good idea to check to see if this number of chains fits around your head.
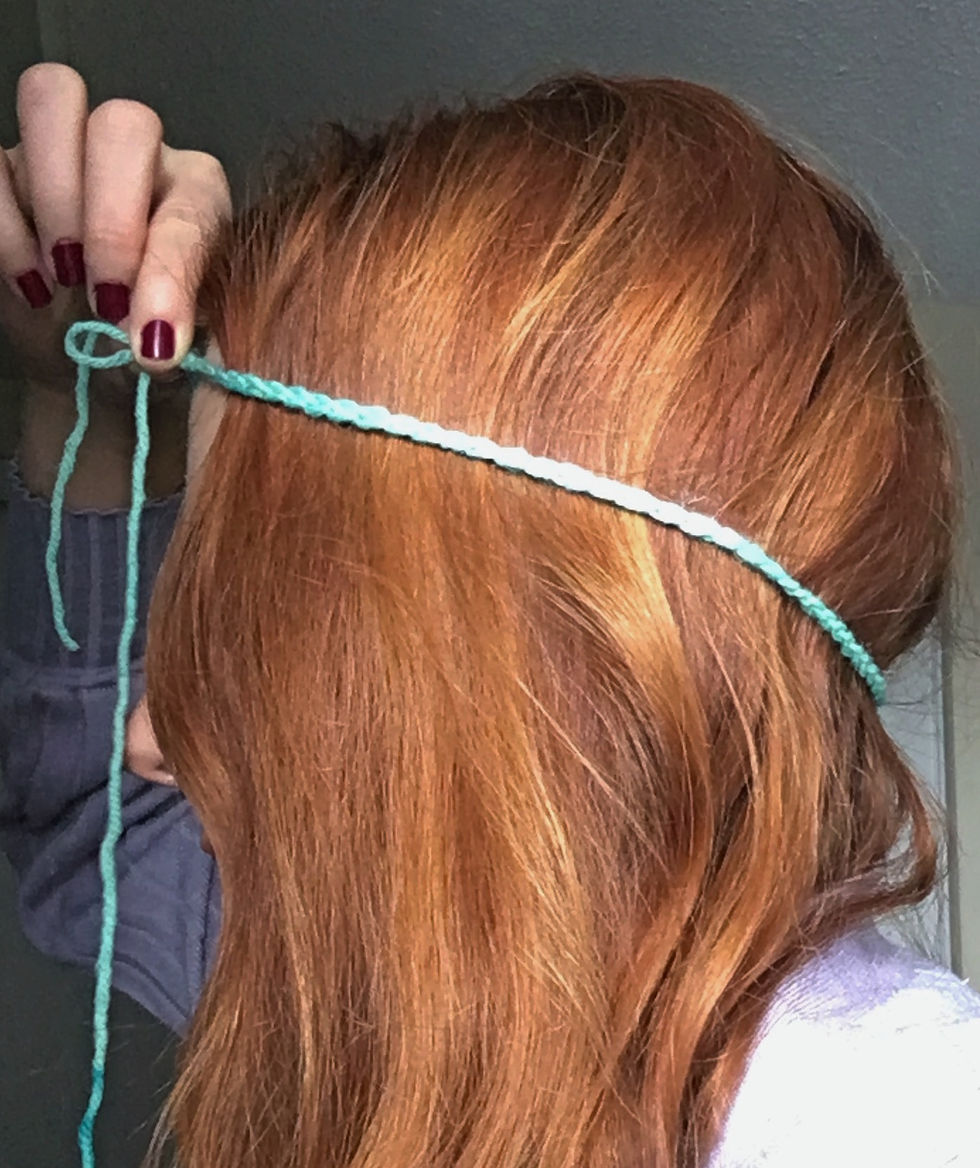
Like so
It should be a bit larger than your head, because we'll lose a little length when we add the twist at the end. If it's too small, add a few more chains. The total number of chains will not affect the pattern.
Row one: Hdc in the third chain from your hook. Hdc across.

Row two: Ch one, turn your work. Hdc in the first stitch (last stitch from the previous row). Hdc blo across until the second last stitch. Hdc in the last stitch.
Repeat Row two for ten more rows.
Once you've finished the ten rows, check to see if this is wide enough to cover your ears. If not, add a couple more rows. You want this to be wide enough to have a bit of a slouchy look after we add the twist.
If the headband is wide enough, go ahead and tie off the end of the yarn, leaving a long tail of around 8 inches. We're going to use this tail to sew the headband together in a twist.
And now it's time to twist, baby
The last step is a little tricky, but we're almost at the finish line.
Thread your darning needle with yarn.
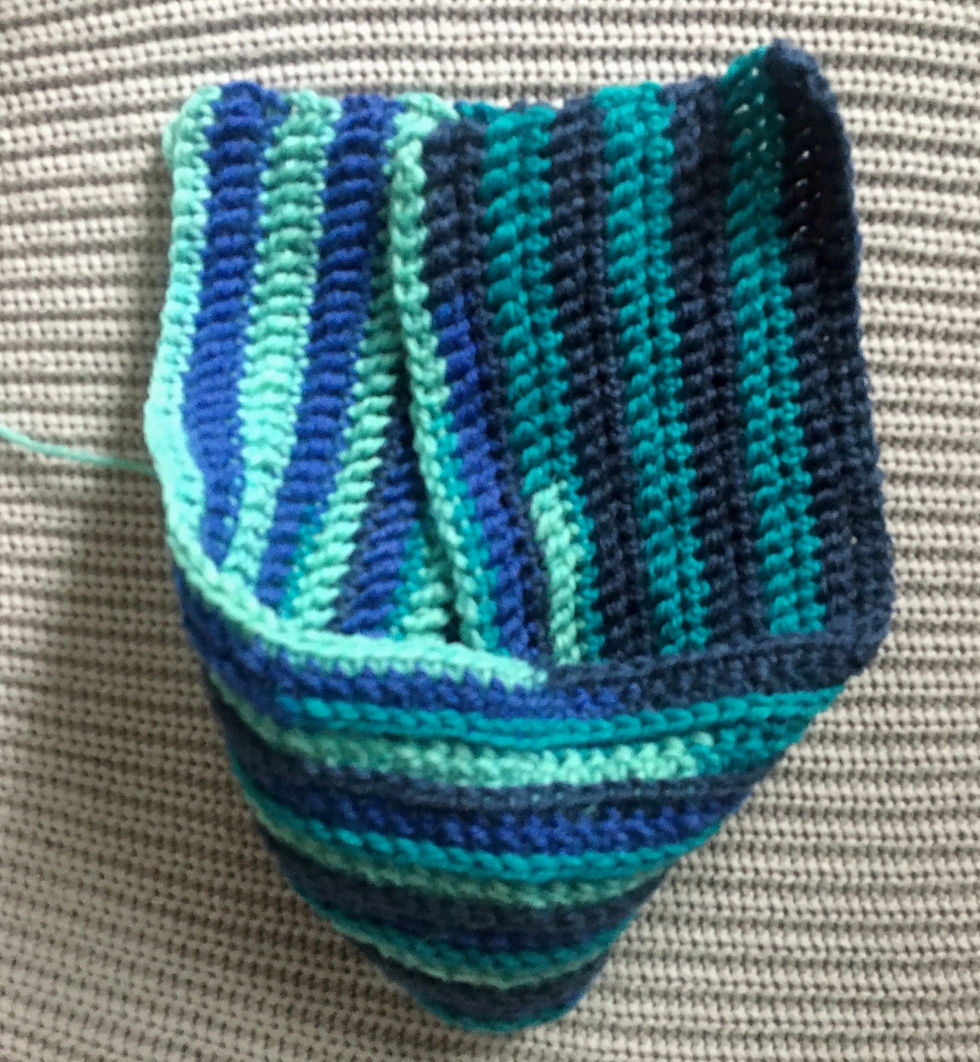
With the right side of the headband facing you, fold one end in half width-wise. Like a tiny hot dog bun.
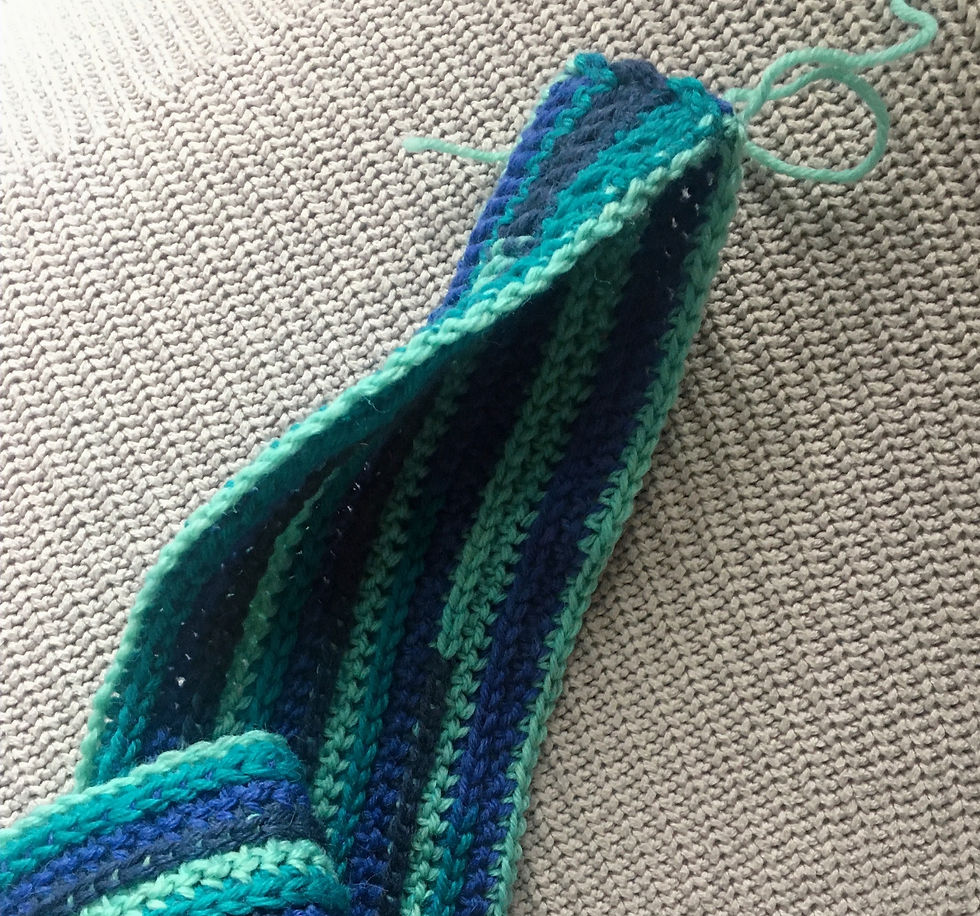
Fold the other half over width-wise as well.
And then slot the two halves together so that the fabric alternates between the two buns.
Sew the open ends of the hot dog buns together, and ensure that you stitch through all of the layers. This is key- it's easy to miss one!
Once you're finished, turn the headband right side out.
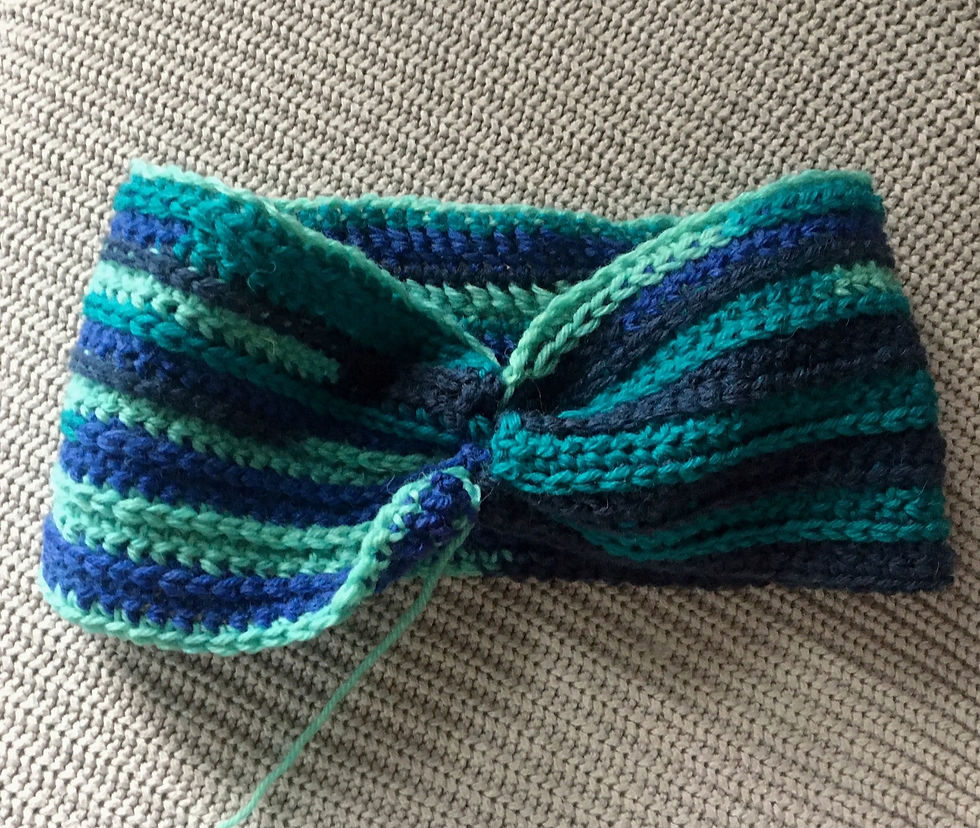
If all goes well, your ear warmer will look like this:
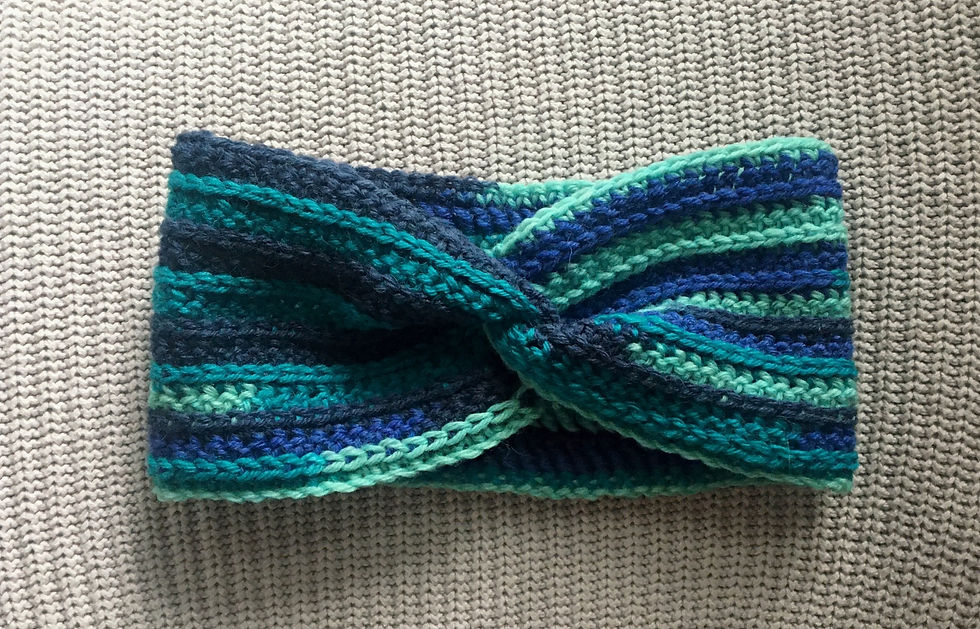
Boom boom!
In the spirit of transparency, I should probably mention that I sewed this incorrectly three times while taking pictures for this post. No shame if it takes you a couple of tries!
A different, possibly better explanation for the twist
You may be thinking, hang on, mine doesn't look like that
Womp womp.
Hot dogs are delicious, but they are not for everyone. Here's another method to try if your buns just aren't cutting it.
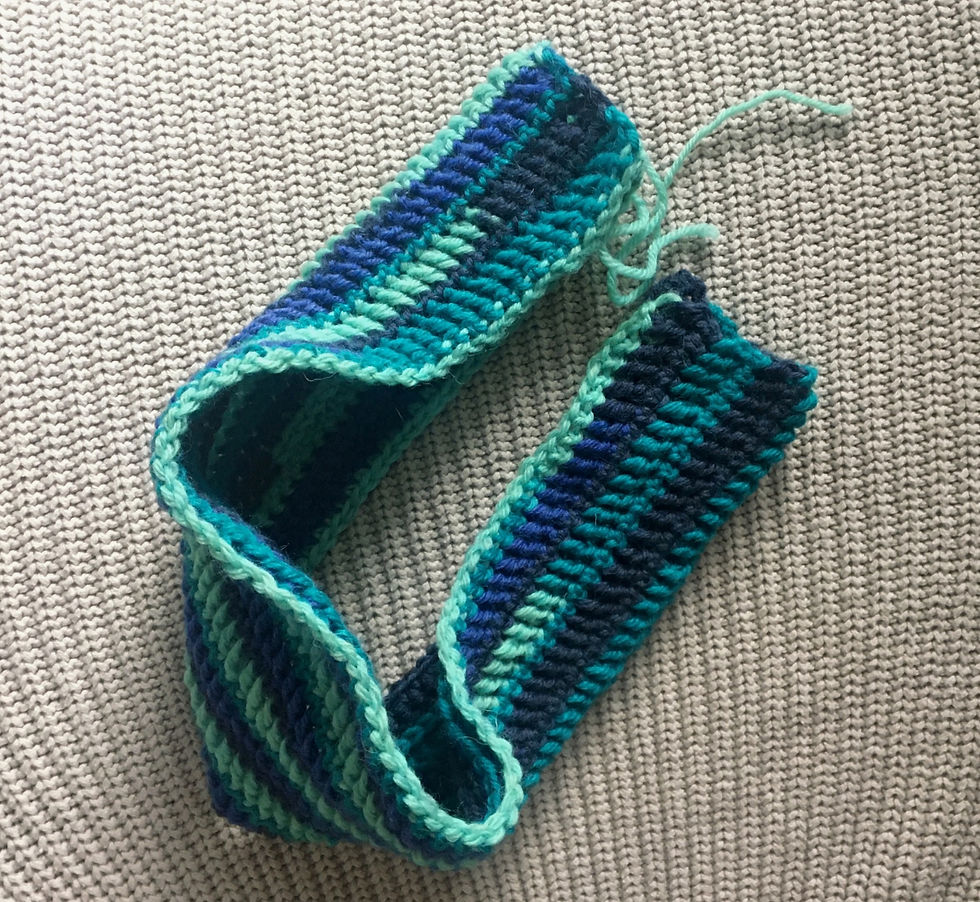
Lay one end of the ear warmer over the other so that one half of the width covers the other half of the width.
Fold the opposite side over:

And then fold over your remaining side. It should look like this:
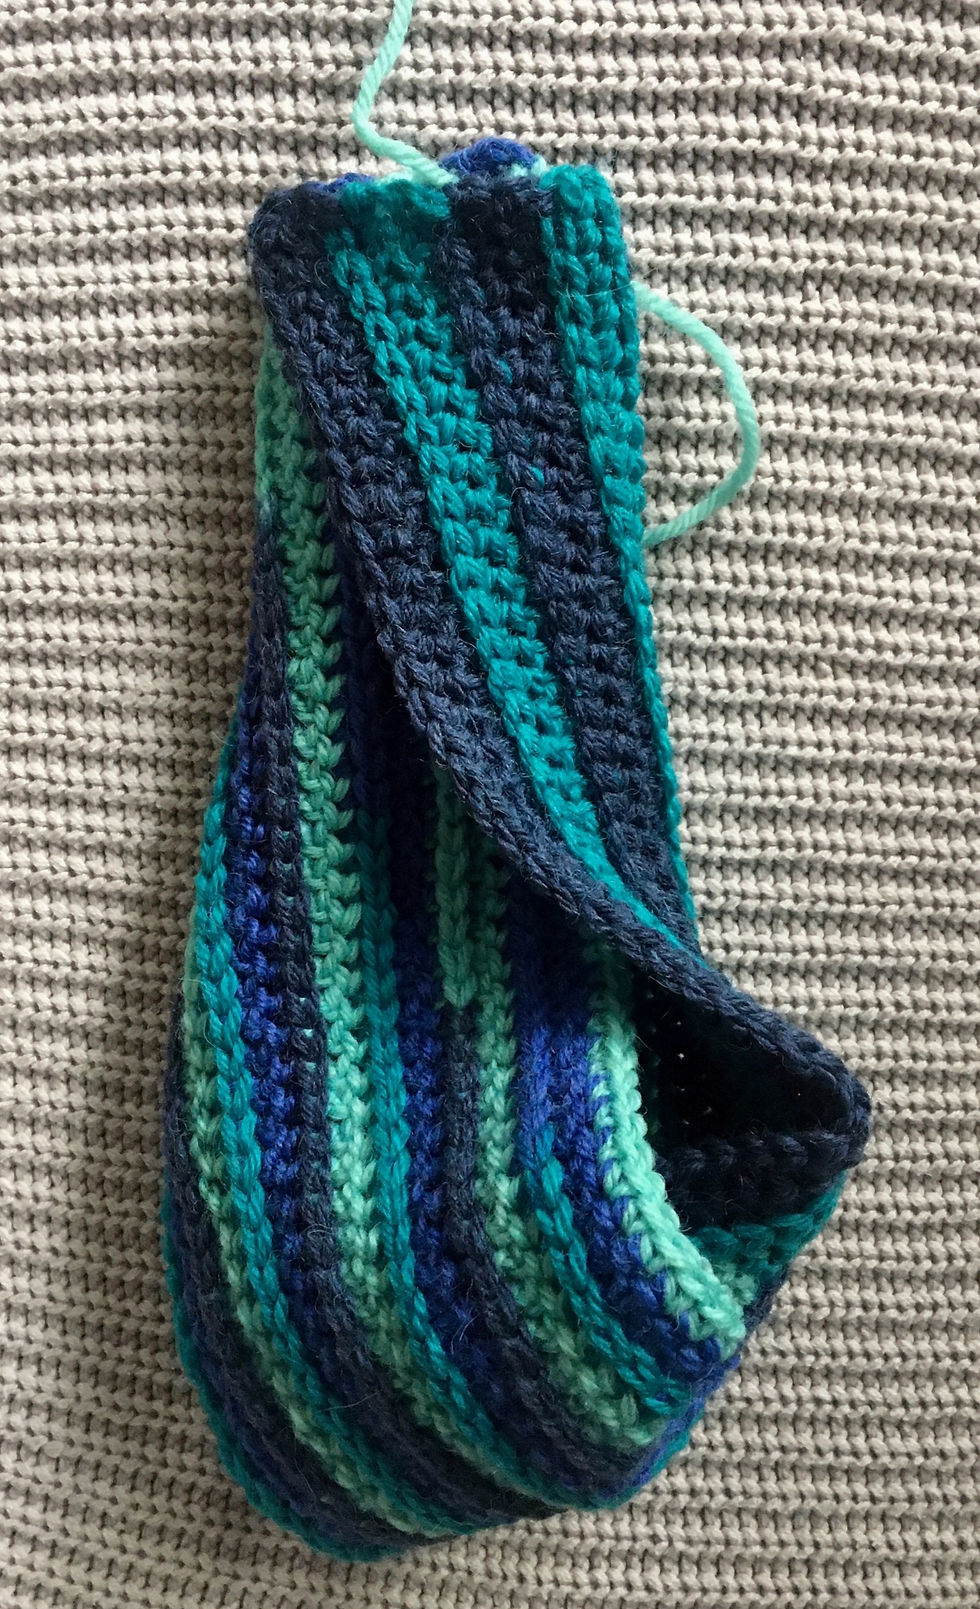
Using your darning needle, sew these together, ensuring that your needle goes through all four layers.
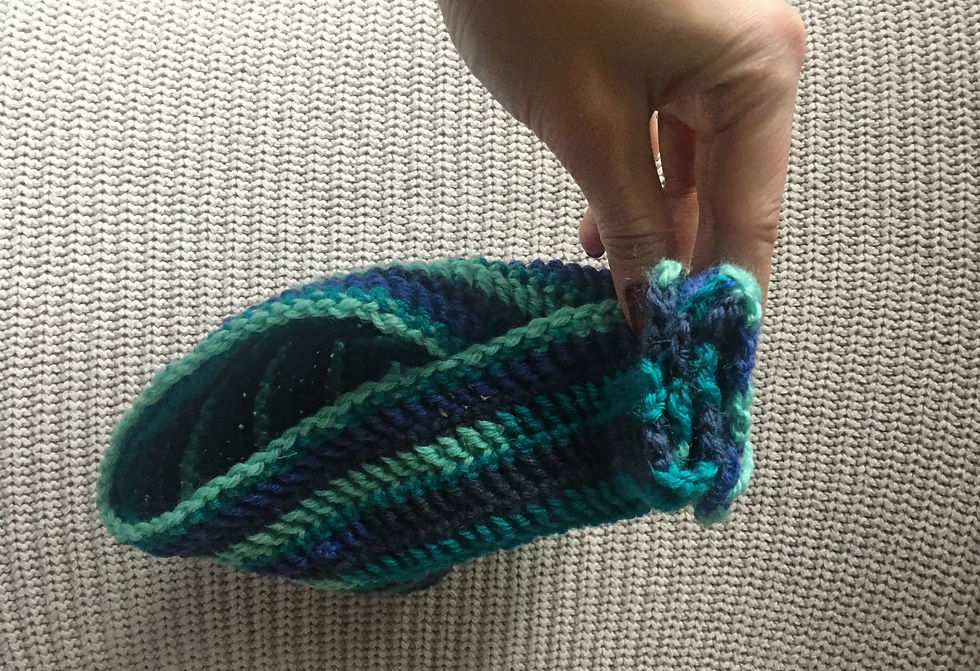
Flip your headband right-side out, and hopefully this time, it looks more like this:
You now have bragging rights to your very own, hand-made ear warmer.
If you have any questions, throw them in the comments and I'll give you a hand. Please enjoy responsibly, and happy hooking!


Comments