Cerys Love Top: Free Pattern
- crochetyblog
- Jun 11, 2022
- 8 min read
Updated: Jun 19, 2023
Happy Pride Month!
As a femme lesbian, I have the dubious honour of sliding under most people's gaydar for most of the year.
June is the exception.


It's rainbow time!
Cerys means love in Welsh (according to Google) and is pronounced “care-is" (also according to Google). I doubled down and called this the Cerys Love top, so it's basically the love love top.
Please enjoy this pattern free of charge, and it will make my day if you tag me on Instagram to show off your work.
Cerys Love Top Pattern
Notes:
This is a beginner-friendly, made to measure pattern, worked bottom up.
Cerys is constructed with a front panel, and two separate panels for the back.
The back panels are sewn to the front panel at the end, and they bottom section of the back panels are sewn together in a twist.
Turning chain counts as a stitch for rows that begin with a DC.
Turning chain does not count as a stitch for rows that begin with a SC.
Materials:
- DK yarn*
- Size 4mm hook*
- Scissors
- Tapestry needle to weave in ends and secure straps
*This is a made to measure pattern, so you can use whatever yarn you prefer. I recommend a summer-friendly fiber like cotton or bamboo.
Abbreviations:
SC | Single Crochet |
|---|---|
DC | Double Crochet |
Ch | Chain |
CIC | Crochet I-cord |
MS | Moss Stitch (also known as Granite, Woven, or Linen stitch) |
SS | Slip Stitch |
Special stitches:
Moss Stitch: SC, ch one, skip one stitch. Repeat. (Also known as Linen, Granite, or Woven stitch)
Crochet I-cord: Please see tutorial here.
Measurements:
Before you begin, measure around your body at the spot where you would like the bottom of the top to fall. I will refer to this measurement as your low waist measurement throughout the pattern because that’s the length of my top, but you can easily make it longer or shorter.
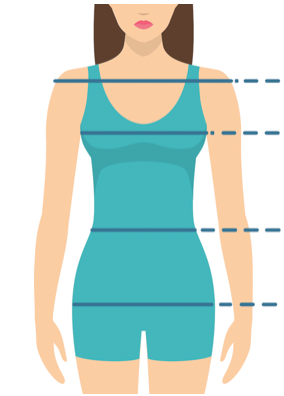
Mid-chest (where V-neck will fall) (not where the line is, but where the teal neckline lands in this image)
Low waist (where bottom of the top will fall)
Pattern
Front Panel
Divide your low waist measurement by two.
Example: 32 inches divided by two= 16 inches
This measurement will be the length of your chain for the front panel, as the top is worked from the bottom edge upwards.
Chain an even number of stitches to match the measurement above (low waist divided by two).
Note A: Make a note of how many chains you made- we will need this later on for the back of the top
Row one: SC in the second chain from hook, SC across. Ch 3 (counts as DC and ch one), turn
Row two: DC in third stitch from previous row, Ch one, skip one stitch. DC in next stitch, Ch one, skip one stitch. Continue to end of the row, DC in last stitch. Ch two (counts as a stitch), turn.
Row three: SC in the first chain one space from the previous row. Moss stitch across. Two SC in the Ch 3 space from previous row. Ch one, turn.
Row four: SC in first stitch, moss stitch until you reach the last two stitches. SC in the last two stitches (last stitch in row is the chain two space from previous row). Ch three, turn.
Repeat row two
Repeat row three
Row five: SC in first stitch, moss stitch until you reach the last two stitches. SC in the last two stitches, Ch one, turn.
Repeat row four
Repeat row two.
Repeat row three.
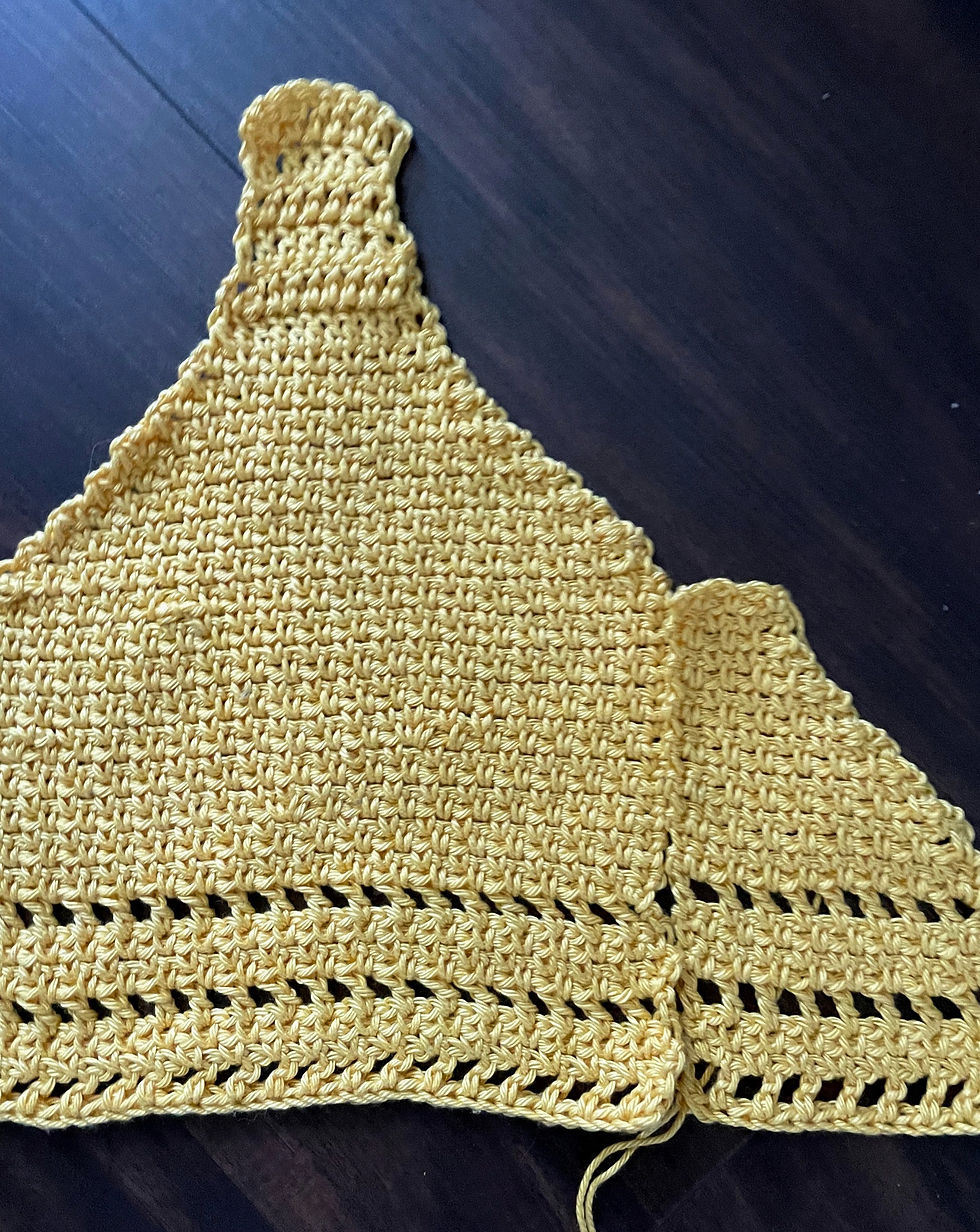
Repeat row five until your top reaches your mid-chest. The next section will create the V-neck of the top.
Note B: Count the number of rows you made following the last row two until the mid-chest decrease begins (i.e. count the rows after the last DC row). Write down this number- you will need it for the back panel.
Decrease begins:
Left side bust:
Count the stitches across the row, and place a stitch marker in the centre stitch.
Row six: Ch one (in addition to the Ch one at the end of the last row) and SC 2 together in the second SC and the first chain space from the previous row. Moss stitch until you approach the centre stitch marker. SC 2 together in the last two stitches before the marker. Ch two and turn.
Row seven: SC in the chain space from the previous row, MS across. At the end of the row, SC 2 together in the last SC and chain two space from the previous row. Ch two, turn.
Row eight: SC in the first chain space from the previous row, MS across row. SC 2 together in the last chain space and SC from the previous row. Ch two and turn.
Repeat row seven and eight.
Continue until the top reaches approximately four inches below your collarbone, ending on a row eight.
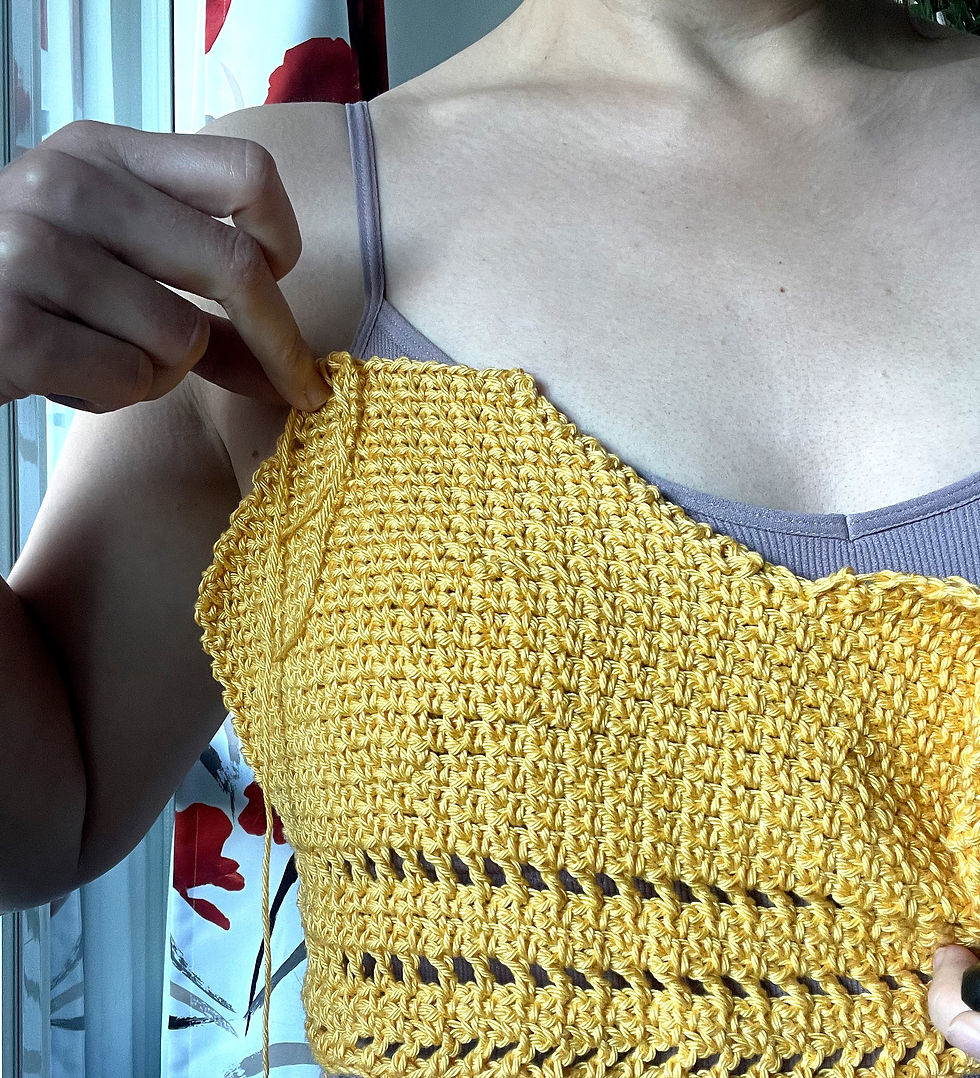
Top should reach a few inches below your collarbone
Row nine: Skip first stitch, DC across the row until you reach the last two stitches. DC 2 together in the last two stitches. Ch two and turn.
Repeat row nine until it is the desired width of the front strap of the top. In the example, mine is seven stitches wide.
Row ten: DC in each stitch across row.
Repeat row ten until the top reaches your shoulder. Tie off the ends.
Right side bust:
Row eleven: Attach yarn in the stitch with the stitch marker. Ch one, and SC 2 together in the next two stitches. MS towards the outside edge of the row. SC 2 together in last two stitches of the row. Ch two and turn.
Row twelve: SC in first chain space of previous row, MS across. SC 2 together in last two stitches of row. Ch two and turn.
Row thirteen: SC in the chain space from the previous row, MS across. At the end of the row, SC 2 together in the last SC and chain two space from the previous row. Ch two, turn.
Repeat row twelve and thirteen.
Continue for the same number of rows as the left side bust decreases.
Row fourteen: Skip first stitch, DC across the row until you reach the last two stitches. DC 2 together in the last two stitches. Ch two and turn.
Repeat row fourteen until your work has decreased to the the desired width of the front strap of the top. In the example, mine is seven stitches wide.
Row fifteen: DC in each stitch across row.
Repeat row fifteen until the top reaches your shoulder. Tie off the ends.
Back panel:
We will create two back panels for the left and right side.
Divide the number of chains you made for the front panel of the top by two.
Example: I chained 70 for the front panel.
70/2= 35
Chain half the number of stitches you made for the front panel and add 4-5 additional chains (must be an even number). I chained 40 stitches.
Row one: SC in the second chain from hook, SC across. Ch 3 (counts as DC and ch one), turn
Row two: DC in third stitch from previous row, Ch one, skip one stitch. DC in next stitch, Ch one, skip one stitch. Continue to end of the row, DC in last stitch. Ch two (counts as a stitch), turn.
Row three: SC in the first chain one space from the previous row. Moss stitch across. Two SC in the Ch 3 space from previous row. Ch one, turn.
Row four: SC in first stitch, moss stitch until you reach the last two stitches. SC in the last two stitches (last stitch in row is the chain two space from previous row). Ch three, turn.
Repeat row two
Repeat row three
Row five: SC in first stitch, moss stitch until you reach the last two stitches. SC in the last two stitches, Ch one, turn.
Repeat row four
Repeat row two.
Repeat row three.
Note C: the twist in the back panels will be created using the panel up to this point.
Decrease begins:
Row six: Chain one, skip first stitch. SC 2 together in second SC and first chain space from previous row. Moss stitch across. SC in last stitch, Ch one, turn.
Row seven: SC in first stitch, MS across row. SC 2 together in last two stitches of the row. Ch 2, turn.
Row eight: SC in first chain space of previous row, MS across. SC in last stitch of row. Ch one and turn.
Repeat rows seven and eight until your back panel has the same number of rows that you noted in Note B for the front panel.
Tie off the ends.
Repeat the process to create the left-side panel.
Assemble the top
With the wrong sides of the top facing outwards, whip stitch the front and back panels together.
Line up the sides and whip stitch together on the wrong side.
And now, we twist!
With the wrong side of the back of the top facing you, we will stitch the right and left side panels together in a twist, like so:
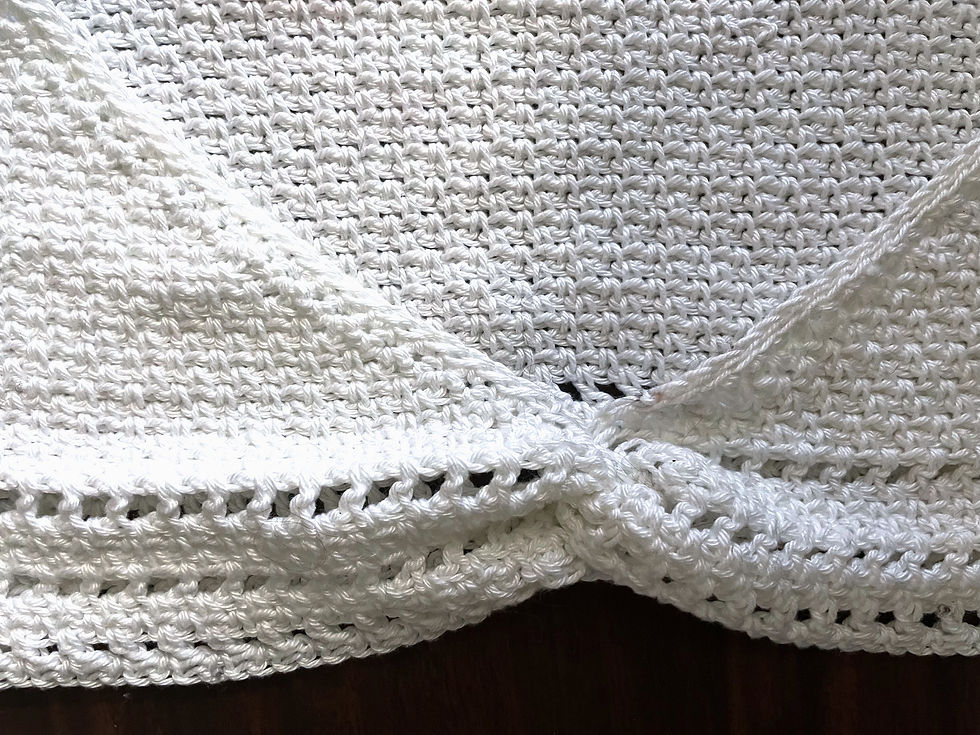
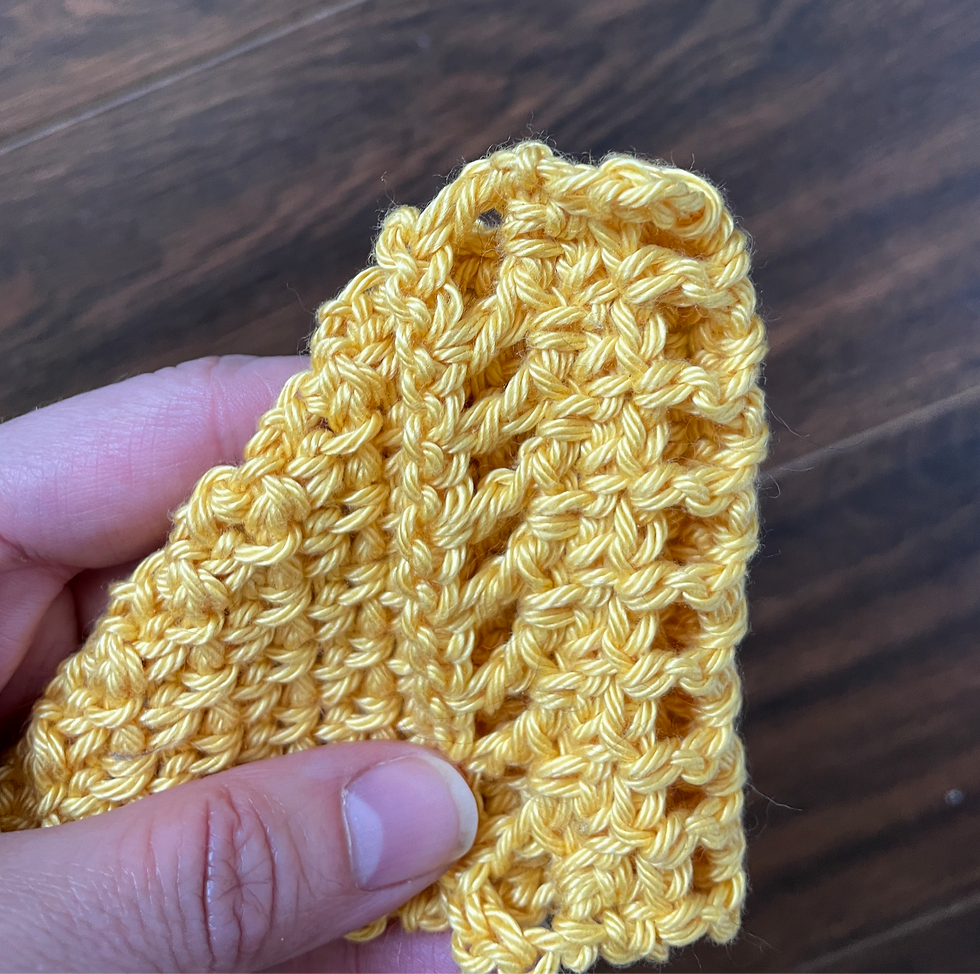
Step one: With the wrong side of the back of the top facing you, fold over the lower portion of each back panel horizontally.
Step two: Fit the two back folds together like fitting two hot dog buns together.
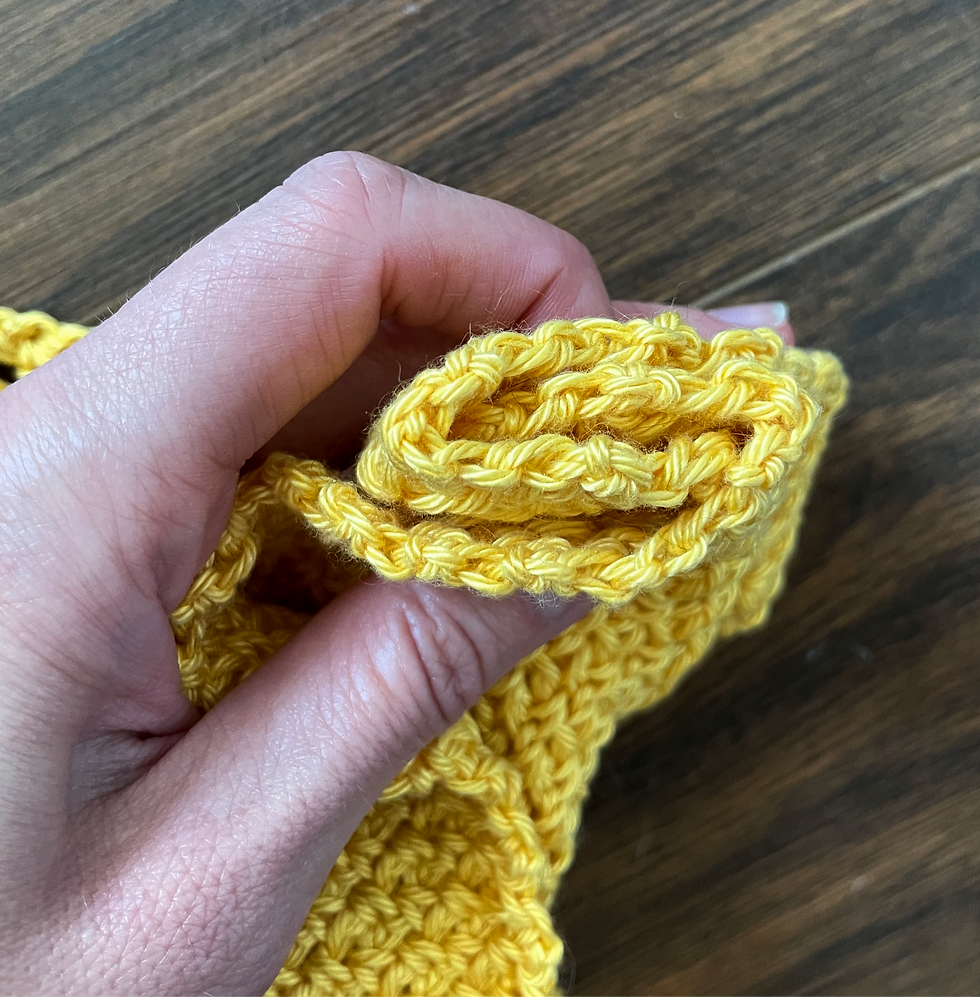
Step three: Stitch through all four layers to secure.
This part can be a little tricky. If this explanation was not clear enough, there are detailed instructions to create a twist here.
Finishing:
With the right side facing you, attach your yarn to the top edge of the left back panel. I attached mine close to the twist section to make the join more subtle.
SC evenly along the side and top edges of the top, finishing at the right panel side of the back twist.
Ch one, and slip stitch into the SC on the left back panel.
Note: I've used a contrasting yarn colour in the images below to better show these steps.

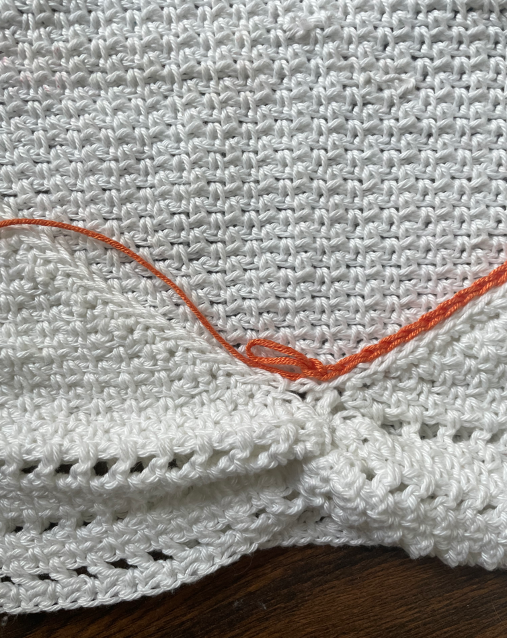

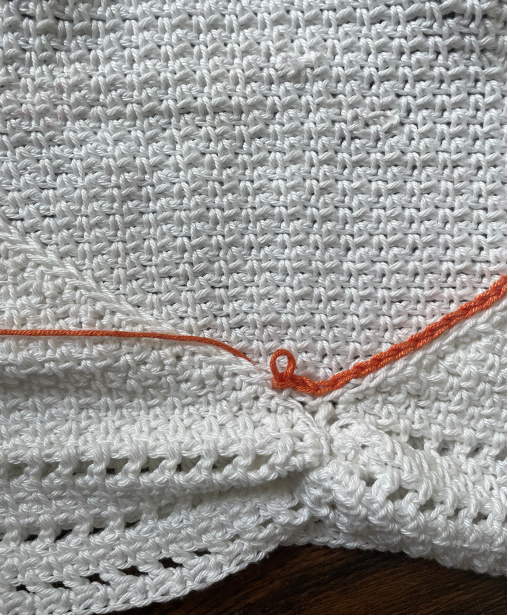
1) SC evenly along the side and top edges of the top, finishing at the right panel side of the back twist.
2) Ch one, and slip stitch into the SC on the left back panel.
Continue to slip stitch in every SC around the side and top edges. Tie off ends.
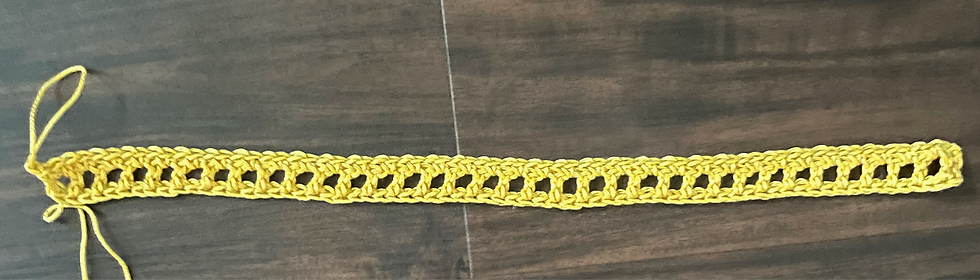
Straps:
Crochet I-cord (CIC) two straps (left and right) in each colour. In the sample piece, I created 12 straps in total.
The length of the first strap should measure from the top right corner of the left strap to the top right arm hole. In the sample piece, I used 70 CIC.
For each of the following straps, add 1-2 CIC to the length.
In the example piece:
Red: 70 CIC
Orange: 71 CIC
Yellow: 72 CIC
Green: 73 CIC
Blue: 74 CIC
Purple: 75 CIC
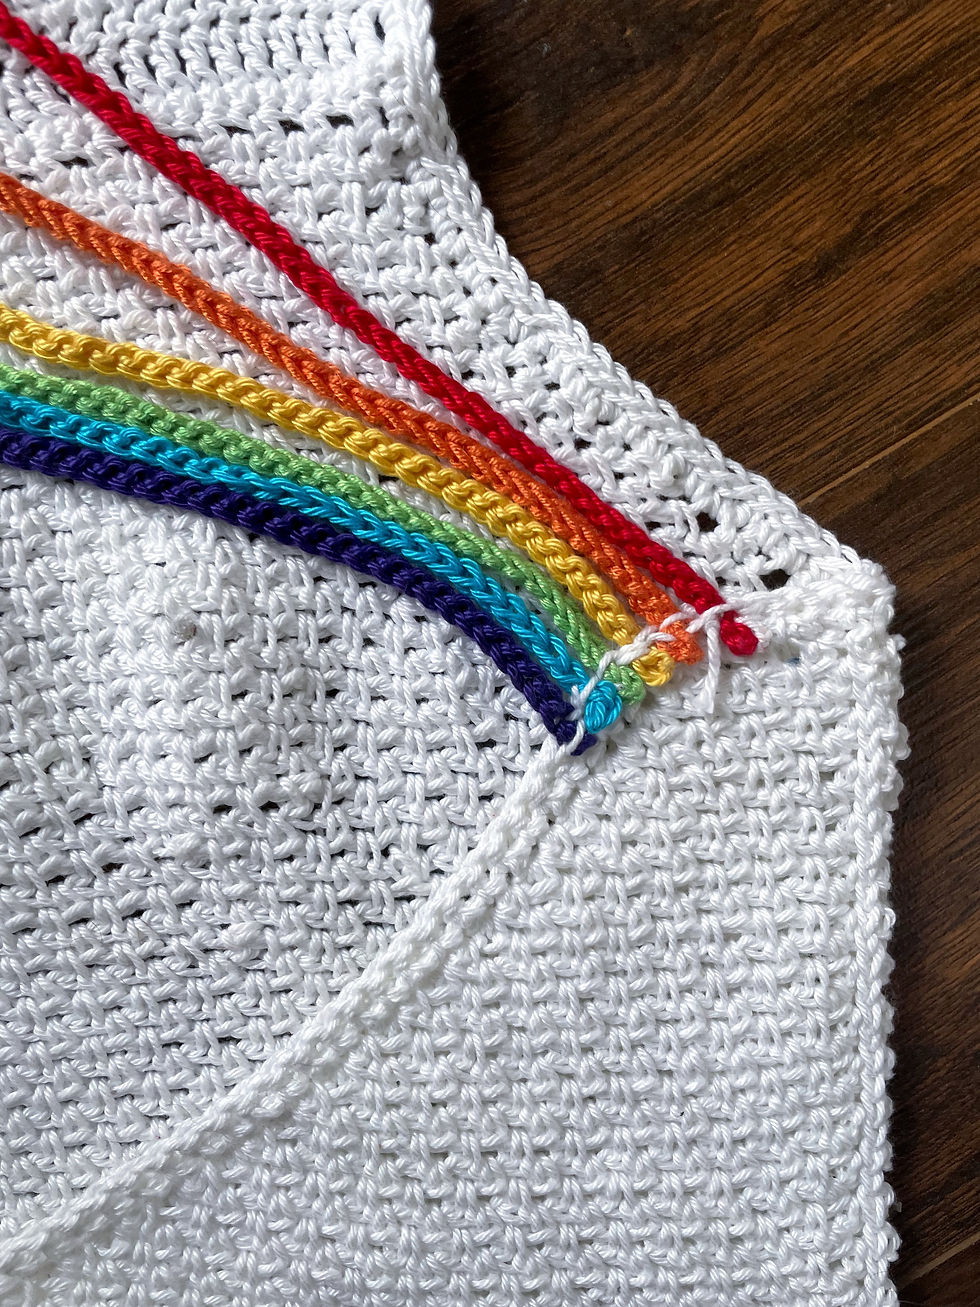
Attach each strap to the top left shoulder in rainbow order, with red on the edge closer to the neck. Repeat for the right straps.
Note D: because the straps are a very different colour than the rest of the top, I recommend attached the straps to the wrong side of the shoulder piece.
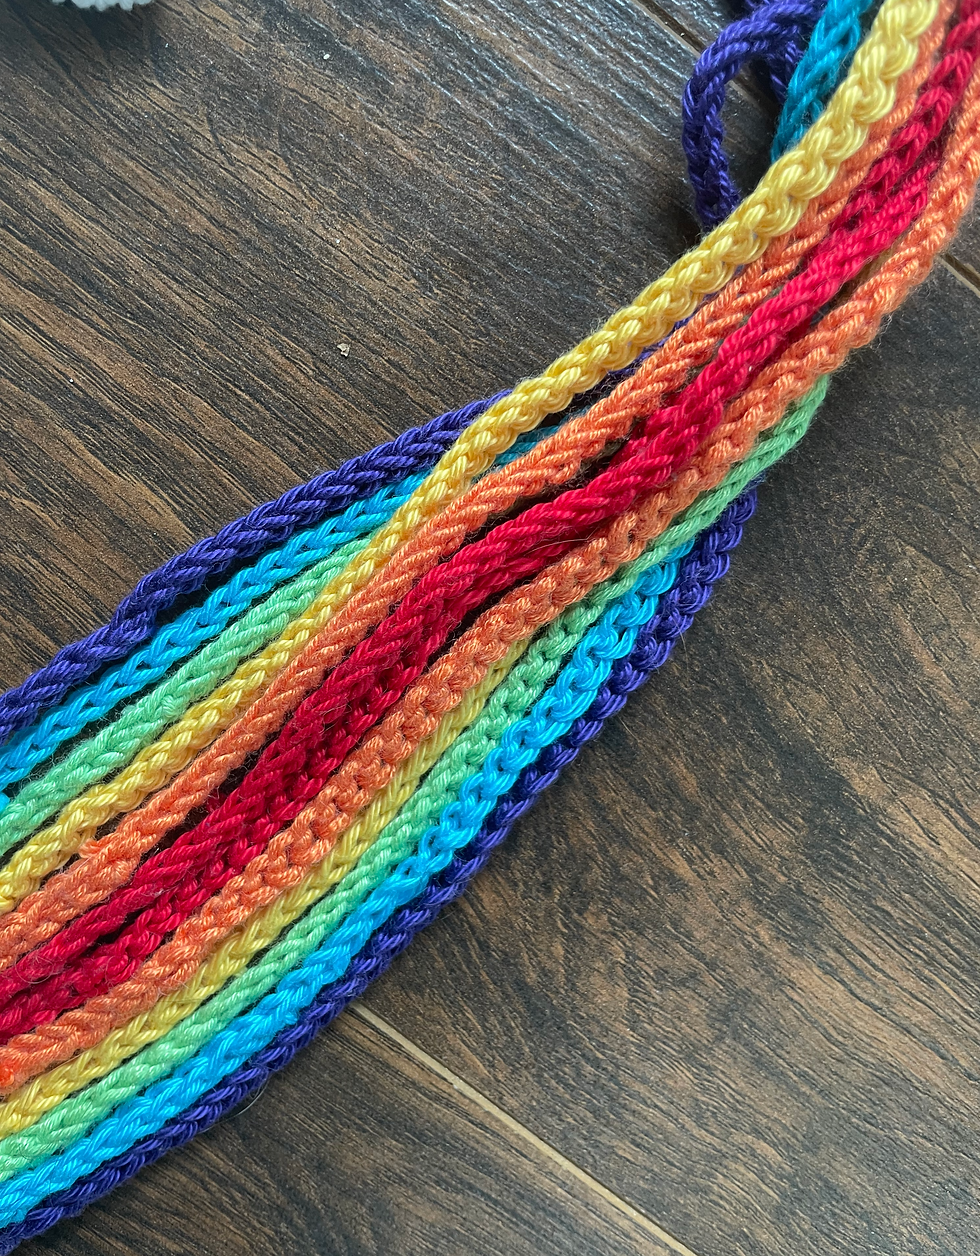
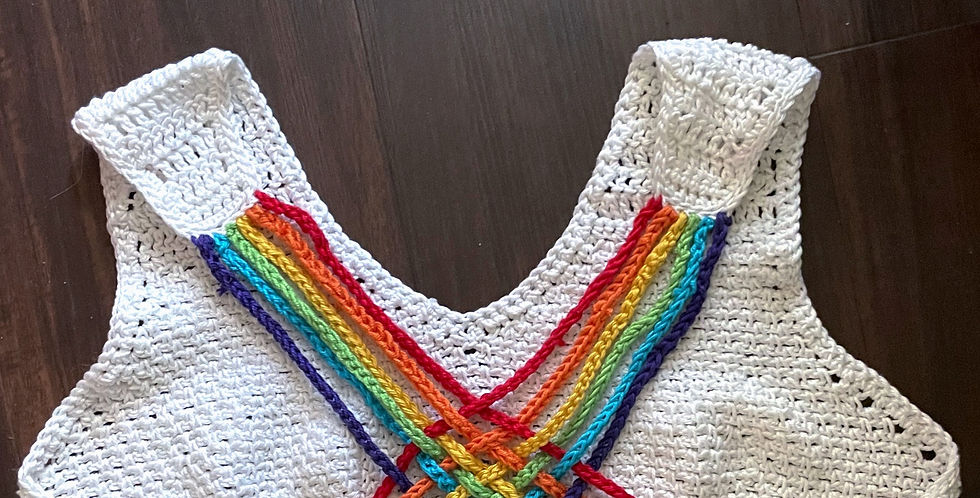
Weave the straps:
With the back right side facing you, arrange the straps in the order you attached them to the shoulder piece. In my example, this is ROYGBIV.
Starting with the left shoulder red strap, interweave through each of the straps for the right shoulder side, alternating over and under.
E.g. weave the red strap over the red, under the orange, over the yellow, under the green, over the blue, under the purple.
Repeat this step with the next left shoulder strap (orange), alternating under and over.
E.g. weave the orange strap under the red, over the orange, under the yellow, over the green, under the blue, over the purple.
Repeat this step with each strap, alternating between beginning with over and under.
The end result should look like this:

Thread the tapestry needle with the yarn colour used for the back panels, and use this to attach the left straps to the right back panel, and the right straps to the left back panel in rainbow order. The ends of the straps should be on the wrong side of the back panel so that you have a clean result on the right side.
My skills lend themselves to crochet more so than sewing
And that's it-- you've finished your brand new Cerys Love top!
Please enjoy responsibly, and share your pictures with me on Instagram by tagging @itscrochety

About how many grams yarn did you use for the main body?